









Best Exercises to Reduce Hip Dips and Build Muscle | Crunch Fitness
October 13, 2026
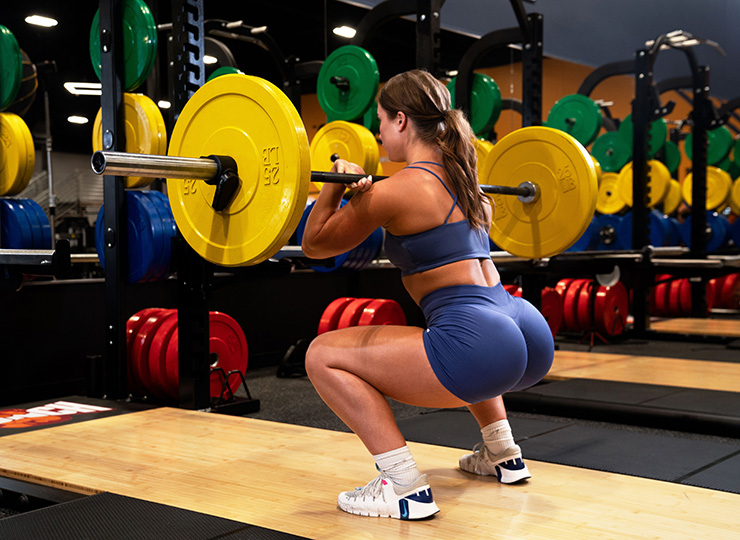
Have you ever looked up hip dip exercises and found yourself with more confusion than answers? With so many different tips and countless workout videos, just getting started can feel overwhelming.
Maybe you want to build fuller glutes, feel stronger on leg day, or learn what exercise can actually change about your shape. No matter your reason, you deserve a plan that fits your body, without feeling pressured to look like someone else.
Grab your water bottle and keep reading. We’ll cover exercises for all levels, how often to train, nutrition basics, and practical tips for building muscle. We’ll also explain hip dips, set realistic expectations, and point out common mistakes. If you want extra help, a Crunch Fitness trainer can build a routine that works for you.
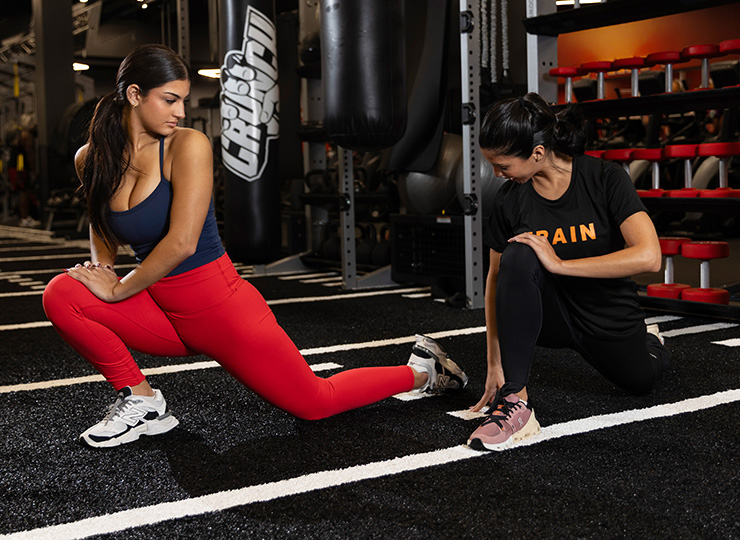
Building muscle around your hips starts with hip and glute exercises that challenge your glutes and hip abductors using bodyweight, bands, and weights. The hip dips exercises below are grouped by difficulty and equipment, so choose your starting point based on your current strength.
Think months of consistent training, not a weekend squat marathon. Visible changes vary with bone structure, genetics, and body composition.
Muscle growth needs enough challenging sets and progressive overload, gradually increasing repetitions or resistance while maintaining good form. Start with this workout:
Try working out on Mondays and Thursdays, so you have time to recover between sessions. Rest for 60 to 120 seconds between sets, and add more resistance when the reps start to feel easier. Your glutes need both a challenge and time to recover.
Explore Crunch’s exercises for strong hips for movement instructions and more training options.
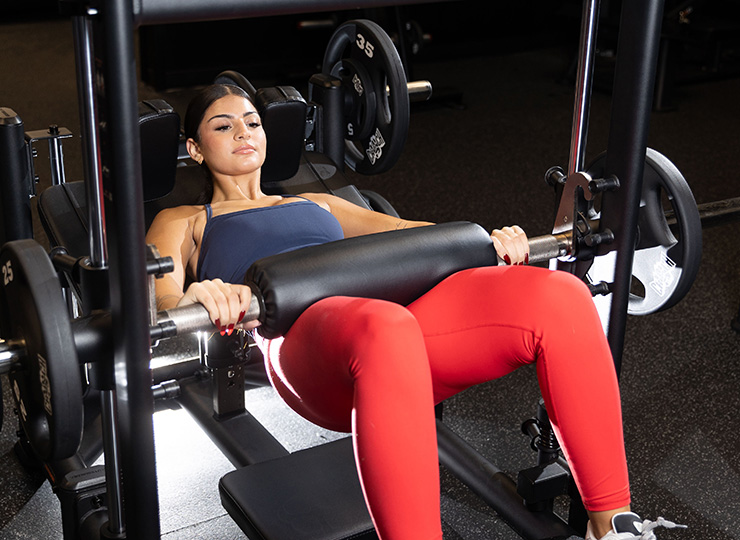
Are you new to hip and glute training? Start with simple moves that help you learn how to engage your muscles, control your positioning, and build foundational strength. These beginner hip dips exercises give you a chance to practice before adding heavier resistance.
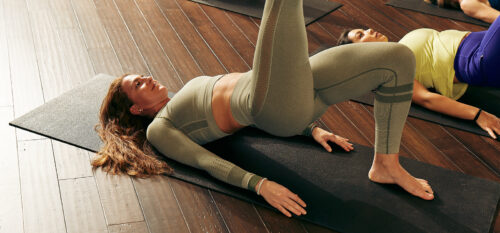
Glute bridges work the muscles at the back of your hips while teaching you to lift through your hips without borrowing movement from your lower back.
How to Do It
Tip: Lifting higher isn’t always better. Stop before your lower back starts to arch.
Clamshells train the glutes along the side of your hips as you open your top knee, much like a shell. No ocean required.
How to Do It
Tip: Keep your top hand on your pelvis to notice any rocking. A small, steady movement is better than a big roll.
The name sounds technical, but the movement is simple: move one leg out to the side. This exercise works your outer hip muscles while giving the standing leg a little stability homework.
How to Do It
Tip: Focus on reaching your leg sideways, not lifting it as high as possible. There’s no need to aim for a high kick.
Discover: Best Hip Flexor Exercises to Improve Mobility & Reduce Tightness
Take your standing side lift to the floor, where balance gets a break, and your outer glutes keep working. Side-lying leg raises help you practice moving your leg independently of your pelvis.
How to Do It
Tip: If your toes point up, adjust your position. Keep the movement small so you stay in control.
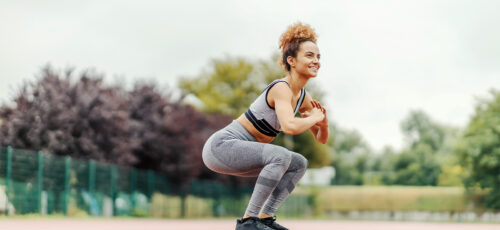
Think of squats as practicing your chair landing, minus the dramatic flop. They strengthen your glutes and thighs while teaching your hips, knees, and ankles to work together.
How to Do It
Tip: Put a sturdy chair behind you and lightly tap the seat before standing up. This gives you a steady target as you build confidence.
Time to give your side glutes some attention. Your hip abductors include the gluteus medius and minimus, which help move your legs sideways and stabilize your pelvis.
Training these muscles can build strength and contribute to fullness around the outer hips, although it won’t change the bone structure behind hip dips.
These hip and glute exercises work best with controlled movement and resistance you can manage without leaning, twisting, or swinging.
A few sideways steps can give your outer glutes plenty to do. Banded lateral walks challenge you to move against resistance while keeping your knees and pelvis steady.
How to Do It
Tip: Taking bigger steps isn’t always better. Pick a step size that helps you avoid swaying or dragging your back foot.
The cable machine gives your side glutes an adjustable challenge. Moving your leg outward against the cable trains your hip abductors while your standing leg keeps you stable.
How to Do It
Tip: Start with a light weight. If you have to lean your torso to move the weight, try using less resistance.
Remember those side-lying leg raises? Here’s their slightly more demanding sequel.
An ankle weight adds resistance to the same movement, giving your outer hip muscles more work without adding a balance challenge.
How to Do It
Tip: Learn the movement without any weight first. Even a light ankle weight can make this exercise much harder.
Read more: 10 Must-Try Glute Training Exercises for Stronger Lifts and a Sculpted Booty
Fire hydrants challenge the muscles around your outer hips as you lift a bent knee sideways while keeping the rest of your body still.
How to Do It
Tip: Picture keeping your lower back steady, as if you were balancing something on it. Focus on control, not lifting your leg as high as possible.
A slightly silly name for some serious glute teamwork. Monster walks use diagonal steps to challenge your hip abductors while your glutes and thighs help you hold a shallow squat.
How to Do It
Tip: Try to keep your body at the same height. If you find yourself bouncing up between steps, take smaller steps or use a lighter band.
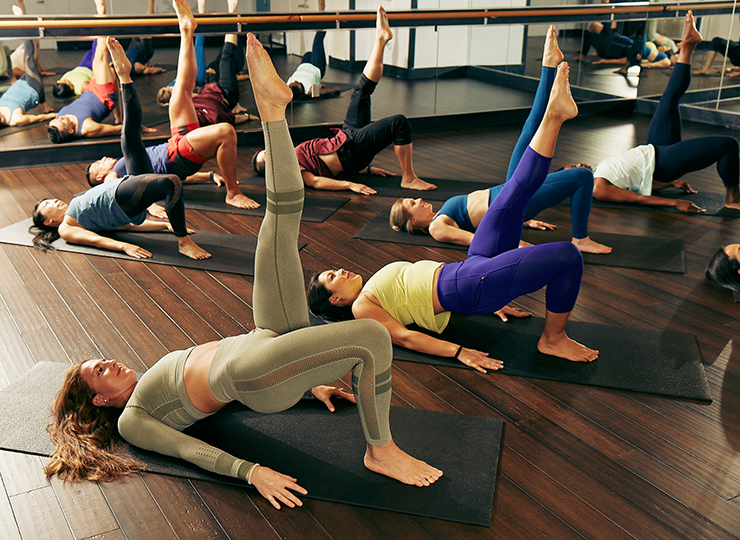
Ready to give your glutes a bigger assignment? Compound exercises involve movement at multiple joints, bringing several muscle groups into the action. Squats, split squats, and step-ups train your glutes and your thighs, while hip thrusts and Romanian deadlifts emphasize hip extension.
These movements offer opportunities to gradually increase resistance and build overall glute size and strength. Over time, that muscle development may contribute to a fuller appearance around your hips and thighs, although changes in hip dips will vary.
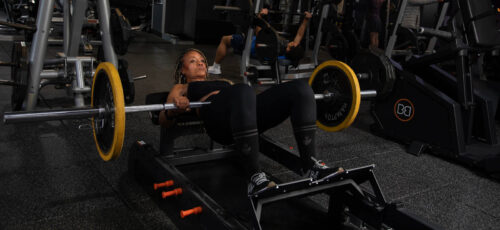
Think of hip thrusts as your glute bridge’s gym-going cousin. Supporting your upper back on a bench allows your hips to travel through a larger range of motion, with the gluteus maximus doing much of the lifting.
How to Do It
Tip: Finish the movement by lifting through your hips, not your chest. If your chest rises too much, make the lift smaller and reset your core.
Your hips move backward, your glutes and hamstrings get to work, and your dumbbells stay close for the ride. Romanian deadlifts teach the hip hinge, a useful movement pattern for lifting both gym weights and everyday objects.
How to Do It
Tip: Focus on moving your hips back, not reaching for the floor. The movement should come from your hips.
If learning a hip hinge feels confusing, explore how working with a personal trainer can fit your goals and budget.
One foot gets a seat while the other leg handles most of the assignment. Bulgarian split squats challenge your glutes and thighs individually, with a little balance practice included.
How to Do It
Tip: Use a sturdy support while you’re learning. Good balance helps you focus on working your leg, not on staying upright.
Give your squat a little extra room. A wider stance recruits your glutes, thighs, and inner thigh muscles, adding variety to your lower body routine.
How to Do It
Tip: Pick a stance that feels comfortable for your hips. A wider stance isn’t always better, especially if it causes your knees to move inward.
Stair climbing gets a strength training upgrade. Step-ups work your glutes and thighs one leg at a time while challenging you to keep your hips steady.
How to Do It
Tip: Practice stepping down with control before adding dumbbells. If you land hard, use a lower step and work on controlling your movement.
Once bodyweight movements feel manageable, added resistance gives your muscles a new challenge. Dumbbells, barbells, bands, and cables let you gradually increase the demands of your hip dips workouts, supporting muscle growth through progressive overload.
Your familiar hip thrust gets an extra assignment. A dumbbell or barbell adds resistance directly across your hips, making this a useful progression for building your gluteus maximus.
How to Do It
Tip: Always use padding between the weight and your hips. The bar shouldn’t be the most uncomfortable part of your workout.
Take your wider squat stance and invite a dumbbell along. This variation challenges your glutes, quadriceps, and inner thighs while keeping the weight centered between your legs.
How to Do It
Tip: Hold the dumbbell close to your body. If it swings forward, slow down and try a lighter weight.
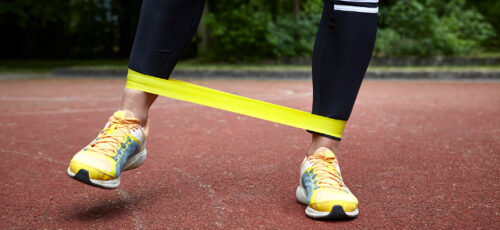
A loop band gives your side glutes something extra to manage while your legs handle the squat. The band pulls your knees inward, and your hip muscles work to maintain alignment.
How to Do It
Tip: Press gently against the band, but don’t push your knees too far out. Keep your feet flat on the ground.
The step stays the same; the challenge grows. Holding dumbbells increases the demand on your working leg while your core helps prevent leaning or twisting.
How to Do It
Tip: Increase the weight or the step height one at a time, not both at once. Lower yourself with control.
For more practice keeping your torso steady under load, explore Crunch’s core stability workouts.
Despite the name, this exercise needs more control than a kick. Cable kickbacks challenge your gluteus maximus as you move your thigh backward against resistance.
How to Do It
Tip: Focus on small, controlled movements instead of big swings. If the weight makes you lose your position, use less resistance.
Curious about where cables fit alongside dumbbells and barbells? Crunch’s comparison of gym machines versus free weights can help you explore your options.
Ready for a bigger challenge? These hip and glute exercises use heavier resistance, single-leg loading, and deliberate pauses to make familiar movements more demanding.
They can support continued muscle development, but “advanced” doesn’t automatically mean better results or disappearing hip dips.
Before progressing, you should be able to perform the foundational versions with consistent control, stable hip positioning, and no joint pain. Crunch’s trainers can assess your readiness and guide progression; explore what to consider when hiring a personal trainer for lifting weights.
Your glutes have been practicing for this, but the barbell still needs to earn its extra plates. Heavy hip thrusts challenge hip extension with greater resistance while requiring the same controlled positioning you learned with lighter loads.
How to Do It
Tip: What feels heavy is different for everyone. Use a weight that challenges you but still lets you do one or two more reps with good form. Practice your setup before adding more weight.
One leg works while the other reaches back as a counterbalance. This variation challenges your glutes, hamstrings, and hip stability, with concentration joining the workout for free.
How to Do It
Tip: Lightly holding onto something for support can help you focus on working your glutes. You don’t need to make balance the main challenge.
If holding the dumbbell becomes the limiting factor, explore Crunch’s ways to build hand strength for heavier lifts.
Your familiar split squat now comes with extra baggage. The useful, muscle kind. Dumbbells increase the demand on your front glute and thigh while your core helps keep you steady.
How to Do It
Tip: Practice your stance without weights first. If using dumbbells makes you lose balance or do fewer reps, use lighter weights.
The cable provides the backward pull; your glutes and hamstrings bring you upright. Pull-throughs reinforce the hip hinge and can complement a demanding routine, although the movement itself isn’t reserved for advanced lifters.
How to Do It
Tip: Let your arms just hold the rope, not pull it. If you have to use your shoulders to move the weight, use less resistance.
Same lift, longer moment of truth. A band above your knees challenges hip alignment while a deliberate pause removes the temptation to bounce through repetitions.
How to Do It
Tip: The band mostly works your side glutes. Once you can pause at the top with control, you can add a padded weight across your hips to make it harder.
Choose these progressions to fit your existing routine; you don’t need to squeeze all five into every session. For ideas on organizing your training, explore Crunch’s guide to building lower body strength.
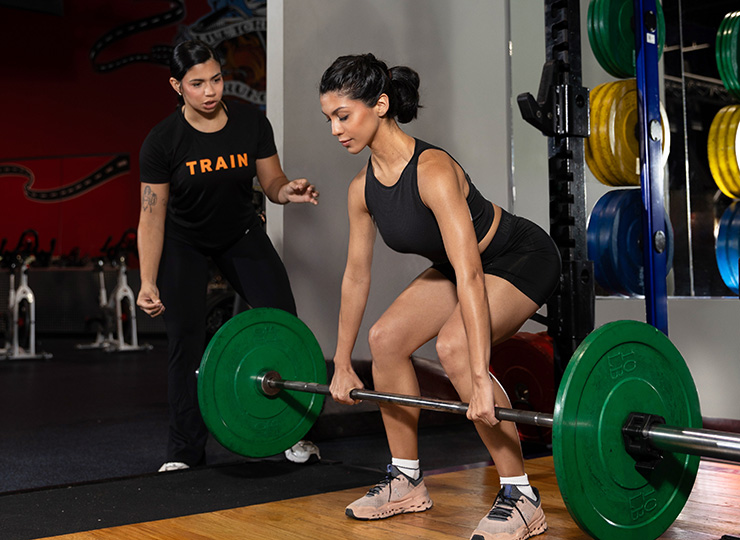
Hip dips workouts can build surrounding muscle, but anatomy and genetics largely determine hip dips, so appearance changes vary. More sessions aren’t automatically better: muscle growth depends on challenging training balanced with recovery.
Start with two or three weekly sessions. Experienced lifters may use three to four, spreading their workload across shorter workouts rather than making every day heavy.
Try these schedules:
For hip and glute exercises, allow roughly 48 hours between demanding sessions targeting the same muscles. Workouts on back-to-back days should vary in focus and intensity so the same muscles have enough time to recover.
If you’re too sore or your performance drops, do fewer sessions or sets. Add more sessions only when you recover well. Your glutes need a smart plan, not just more workouts.
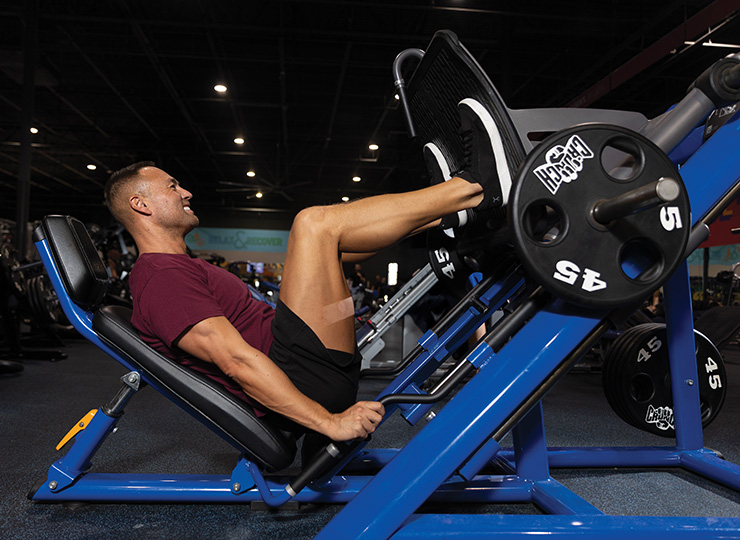
Hip dips are the natural inward curves between your hips and upper thighs. How visible they are depends on your pelvic shape, femur position, and how muscle and fat cover your bones. It’s about your anatomy, not missing a workout.
People of all weights and fitness levels have hip dips. They aren’t caused by extra fat, and you can’t get rid of them with diet or cardio. Looking for ways to remove hip dips can lead to unrealistic promises.
Hip and glute exercises can build surrounding muscle, including the gluteus medius, which helps move your leg sideways and stabilize your pelvis. That growth may create a fuller transition around the hips for some people.
But genetics play a big role in your shape and how visible your hip dips are. Two people can do the same workouts and get stronger glutes, but their bodies may still look different.
The best hip dips exercises can help you build stronger, bigger glutes, but they can’t guarantee a certain shape. Some people see a smoother line from hip to thigh after training, while others still have visible dips because of their bone structure.
Neither result means your workout didn’t work. Getting stronger, moving better, and building muscle are all real progress, even if you don’t see big changes in the mirror.
Instead of measuring success only by appearance, track the resistance you use, the repetitions you control, and how confidently you move. Crunch’s glute strength exercises offer ideas for building strength that carries into everyday activities.
If you’re looking for ways to fix hip dips, remember that your normal anatomy doesn’t need fixing. You can work on building fuller glutes and still accept your shape. Focus on strength, health, and enjoying your workouts, any changes in appearance are a bonus.
Your glutes need more than just lots of squats. They also need the right fuel. Hip dips workouts help build muscle, but you need enough calories and protein to support muscle repair and growth.
A study from the British Journal of Sports Medicine shows that a practical protein target for healthy adults building muscle is approximately 0.7–1 gram per pound of body weight daily, although individual needs vary. Spread protein across meals using foods such as eggs, yogurt, fish, tofu, beans, or poultry. Supplements are optional, not a membership requirement for muscle growth.
“Dietary protein supplementation significantly enhanced changes in muscle strength and size during prolonged RET in healthy adults,” indicates the study.
Eating enough calories, or a little more than you burn, helps you build muscle better than cutting calories too much. Beginners might gain muscle and lose fat at the same time, but not eating enough can hurt your workouts and recovery.
Include carbohydrates, dietary fats, and varied produce alongside protein. Visible changes take months of consistent nutrition and strength training for hips.
Crunch trainers can offer general nutrition guidance within their qualifications and refer you to a registered dietitian for individualized advice.
Read more: An Individualized Daily Diet Plan
Getting more from your hip and glute exercises comes down to how you train, fuel, and recover. Keep these eight tips in your gym bag unless you enjoy carrying printouts.
Even the best hip dips exercises work best with realistic expectations and steady effort. Watch out for these common habits that can slow your progress or make it harder to see results.
You bring the effort, and Crunch provides coaching, equipment, and support. These three things can help you turn hip and glute exercises into a routine you enjoy.
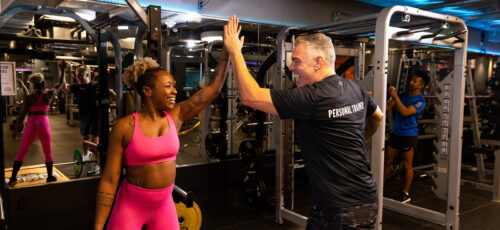
Crunch personal trainers can tailor your program to your strength, goals, and movement needs while explaining what exercise can, and cannot, change about your shape. Coaching helps refine technique and positioning so your side glutes and stabilizing muscles get attention, too. Explore whether personal training is worth it for your goals.
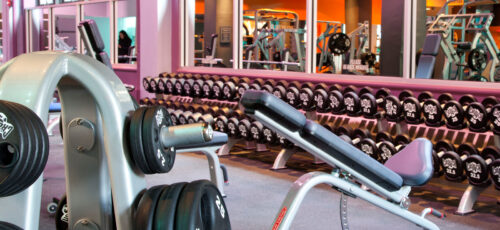
From dumbbells and barbells to resistance bands, cables, and hip machines, Crunch offers ways to challenge your muscles as you progress. Cables allow targeted hip work, while adjustable machines provide supported resistance options. Explore Crunch’s equipment selection and check your club for availability.
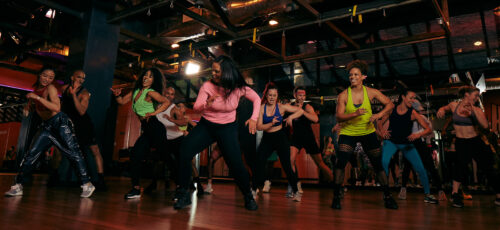
Strength and circuit classes often include squats, bridges, and other lower body exercises. Instructors give tips and modifications, so you can try new moves, stay motivated, and build consistency with others. Check out Crunch’s group fitness classes and your local schedule—leg day might become your favorite.
Crunch promotes a culture of positivity, inclusivity, and fun with no judgments by providing an environment for all individuals regardless of their health and fitness goals. Find a Crunch gym near you to try our free trial membership, or join Crunch now. We’re here for you – at the gym or at home. Access the best live & on-demand workouts anytime, anywhere with Crunch+. Ready to get sweaty? Try hundreds of workouts for free! Start your free trial now!
Exercise can’t change the bone structure that causes hip dips, but building muscle around your hips may make them less noticeable. Hip and glute workouts will help you get stronger, even if the dips are still visible.
No, hip dips are mostly due to your anatomy and genetics, not your weight. People of all shapes, sizes, and fitness levels can have them.
You might feel stronger after a few weeks, but it usually takes a few months of regular exercise to see muscle growth. Changes in how your hip dips look are different for everyone and aren’t guaranteed.
No, you can’t burn fat from just your hip dips with exercise. These moves help build muscle around the area, but losing fat overall comes from changes in your diet and activity level.
Hip dips can show up whether your hips are wide or narrow. How noticeable they are depends on your bones, muscles, and body fat.
There isn’t one best exercise for hip dips, but moves like hip abductions and lateral band walks work the side glutes. Adding hip thrusts or squats helps build your glutes overall, but changes in appearance are different for everyone.
Yes, men can have hip dips too. They’re a normal part of human anatomy, and how visible they are depends on your bones, muscles, and fat.
Squats by themselves probably won’t get rid of hip dips, but they do help build your glutes and thighs. Doing hip abduction exercises targets the side glutes, but there’s no guarantee of a certain shape.
Your diet can affect how your hip dips look by changing your muscle and body fat distribution, but it can’t change your bones. Eating enough protein and calories helps build muscle when you stick with regular strength training.